This is the more advanced configuration for the Nginx VoD Server. In this tutorial, we will configure Vod Server to full remote mode. It means the JSON file and the video file are not in the same server as the Nginx, but they are on Minio Object Storage. This is very important if you want to build a stateless VoD Server.
Check Prerequisite
For this configuration to work, I advice you to follow my previous tutorial first on How to Build Adaptive Bitrate VoD Server using Nginx on Ubuntu.
Get Sudo Privileges
Before starting, make sure that we have no permission issues on the installation & configuration. All the commands that will be executed need root privileges. Execute this command to get the privileges.
sudo su
Modify The JSON File
If you follow my previous tutorial, you will have a JSON file like this one
{
    "sequences": [
        {
            "clips": [
                {
                    "type": "source",
                    "path": "/etc/nginx/vod/transformers_720p.mp4"
                }
            ]
        },
        {
            "clips": [
                {
                    "type": "source",
                    "path": "/etc/nginx/vod/transformers_360p.mp4"
                }
            ]
        }
    ]
}
We need to modify the path parameter so the Nginx will access the file not on the folder, but from a URL. Change the path parameter like this
{
    "sequences": [
        {
            "clips": [
                {
                    "type": "source",
                    "path": "/http/your-minio-ip:9000/public/transformers_720p.mp4"
                }
            ]
        },
        {
            "clips": [
                {
                    "type": "source",
                    "path": "/http/your-minio-ip:9000/public/transformers_360p.mp4"
                }
            ]
        }
    ]
}
The format is a little bit weird, but that’s how to VoD module works on the Nginx. This configuration will make the nginx pull the video from http://your-minio-ip:9000/public/transformers_720p.mp4 and http://your-minio-ip:9000/public/transformers_360p.mp4
Don’t forget to change your-minio-ip that suits your use case. The /public/ on the URL is the bucket name. Later in this tutorial, we will install Minio and create a bucket called public bucket. If you want a different bucket name, you can change it later.
If you want to install the Minio on the same server with the Nginx, you can change it to 127.0.0.1 like this
http://127.0.0.1:9000/public/transformers_720p.mp4
http://127.0.0.1:9000/public/transformers_360p.mp4
Save your JSON file, we will upload it to Minio together with the video file later.
Install Minio
Setup Binary File
Before we configure the Nginx, we will install our Minio object storage first and place the JSON and video file there. You can install Minio on the different/same server with the Nginx.
To Install Minio, download the minio binary file
wget https://dl.min.io/server/minio/release/linux-amd64/minio
Give it executable permission by using this command
chmod +x minio
Place the binary file on the /usr/local/bin directory
mv minio /usr/local/bin
Create a user account named minio-user to run the minio for security reasons
useradd -r minio-user -s /sbin/nologin
Change the ownership of the binary file to minio-user
chown minio-user:minio-user /usr/local/bin/minio
Create Default Minio Configuration
Next, we will create a file to store the minio configuration. Create the configuration file
nano /etc/default/minio
Copy Paste this configuration
MINIO_VOLUMES="/var/minio/"
MINIO_OPTS="-C /etc/minio --address 0.0.0.0:9000 --console-address 0.0.0.0:9001"
MINIO_ROOT_USER="miniouser"
MINIO_ROOT_PASSWORD="miniopass"
For the MINIO_ROOT_USER and MINIO_ROOT_PASSWORD, I recommend you to use a very strong key. You can use this command to generate a very strong key, it will generate a new 32 random characters.
echo -n $RANDOM | md5sum
Create a folder to store minio data
mkdir /var/minio
Change the ownership of the folder to minio-user
chown -R minio-user:minio-user /var/minio
Create Minio Systemd File
Minio already has a systemd file for us to use. We can download it using this command
curl -O https://raw.githubusercontent.com/minio/minio-service/master/linux-systemd/minio.service
Move the file to the systemd folder
mv minio.service /etc/systemd/system
Reload the systemd unit
systemctl daemon-reload
And then you can start your minio by using this command
service minio start
To check the status, you can use this command
service minio status
Upload JSON and Video File to Minio
By now, Minio should be running and can be accessed from the browser, so let’s go to the Minio GUI. Open your browser and go to your Minio Server URL
http://minio-server-ip:9001
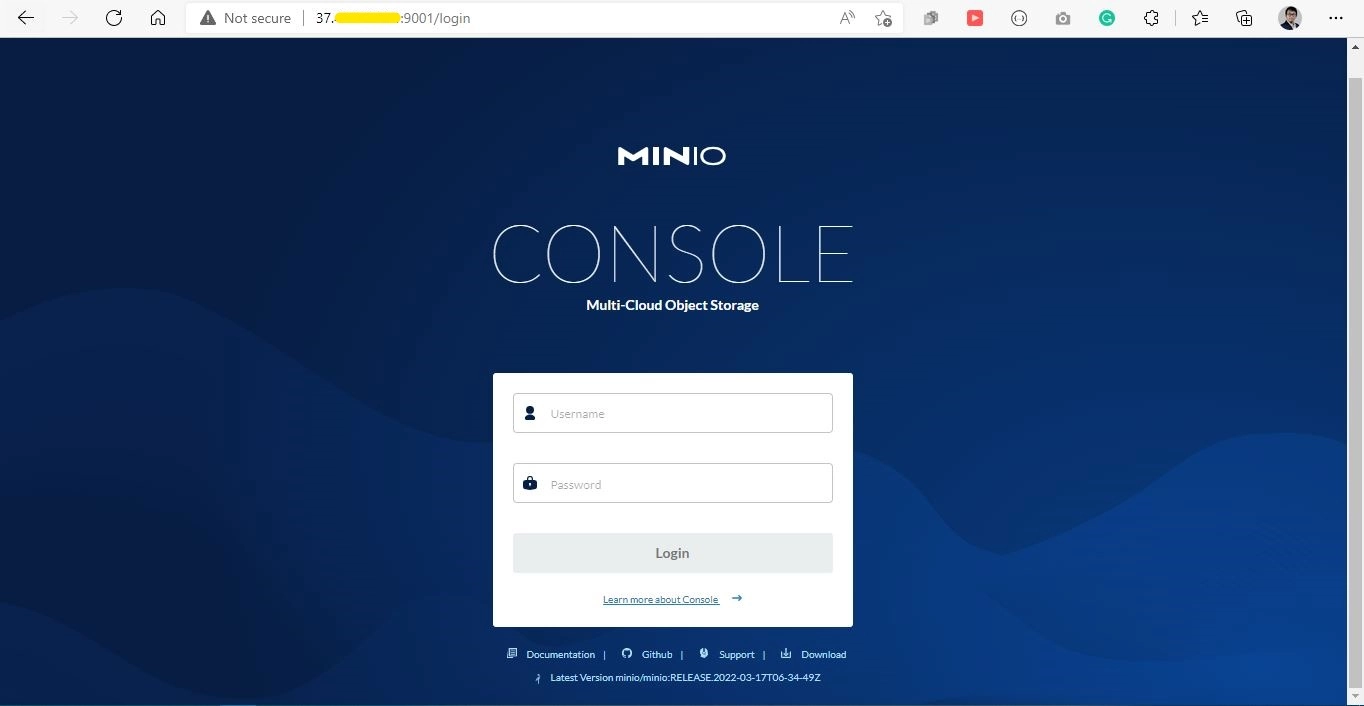
You should see the minio console login page like this
Login using MINIO_ROOT_USER and MINIO_ROOT_PASSWORD you previously set on the Minio configuration file, and then create a bucket.
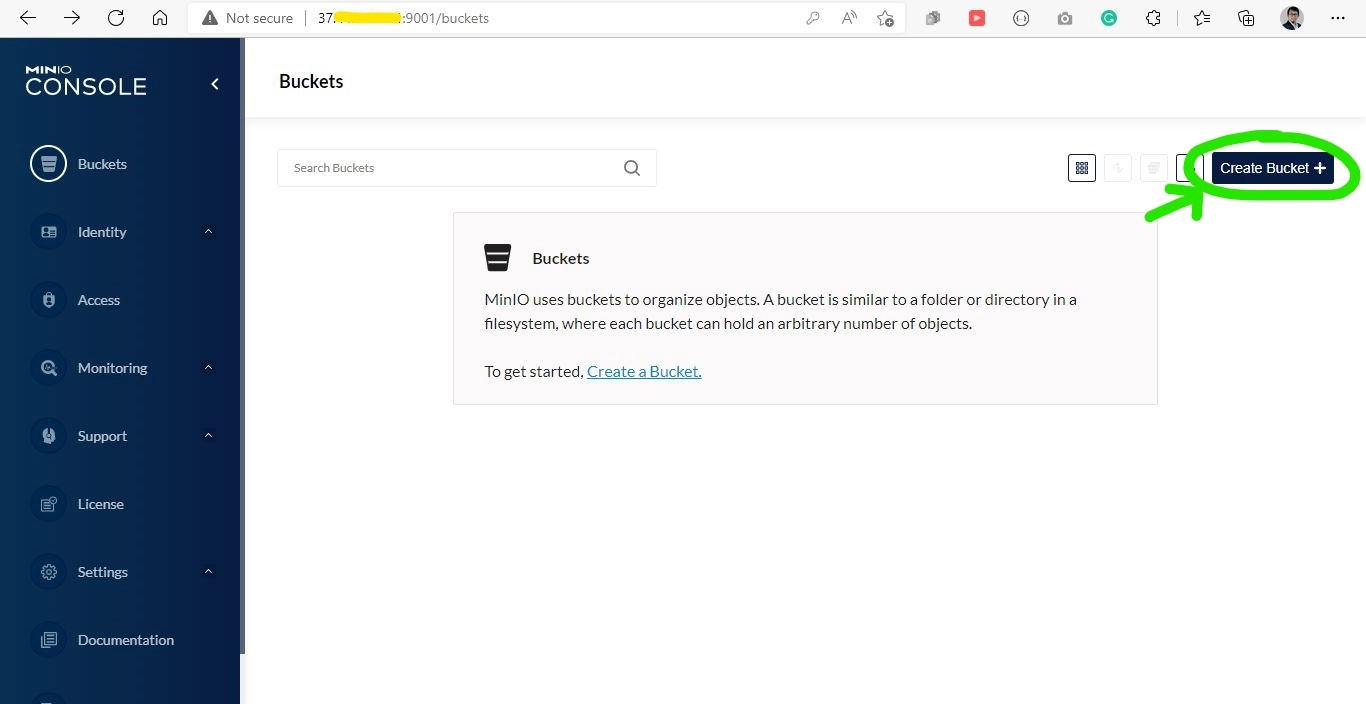
After that, type your own bucket name, In my case, I will name my bucket public, and then click Create bucket button. If you use a different bucket name, remember to edit the path parameter on your JSON file as well.
Click the upload button on the top right to upload the JSON and video file
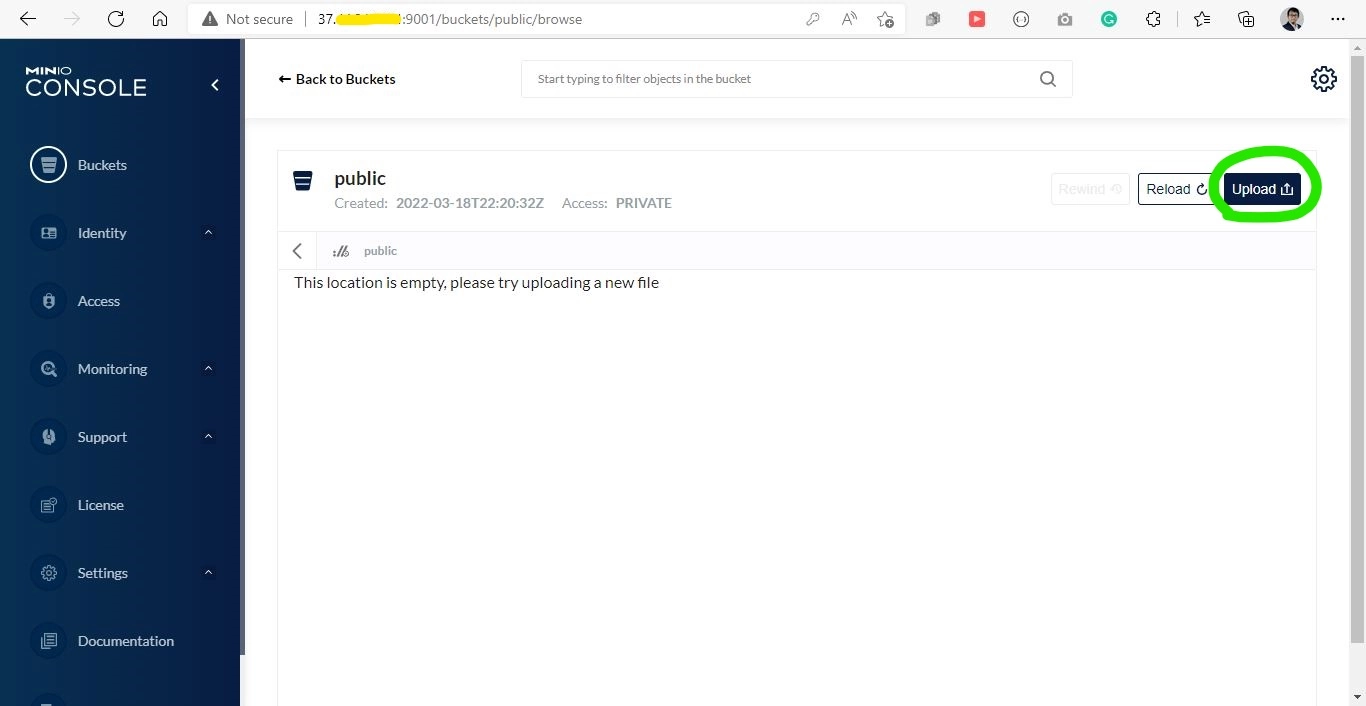
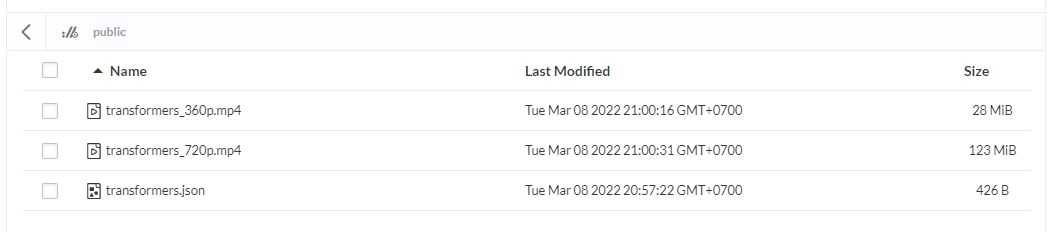
This is my JSON and video file that has been uploaded to minio
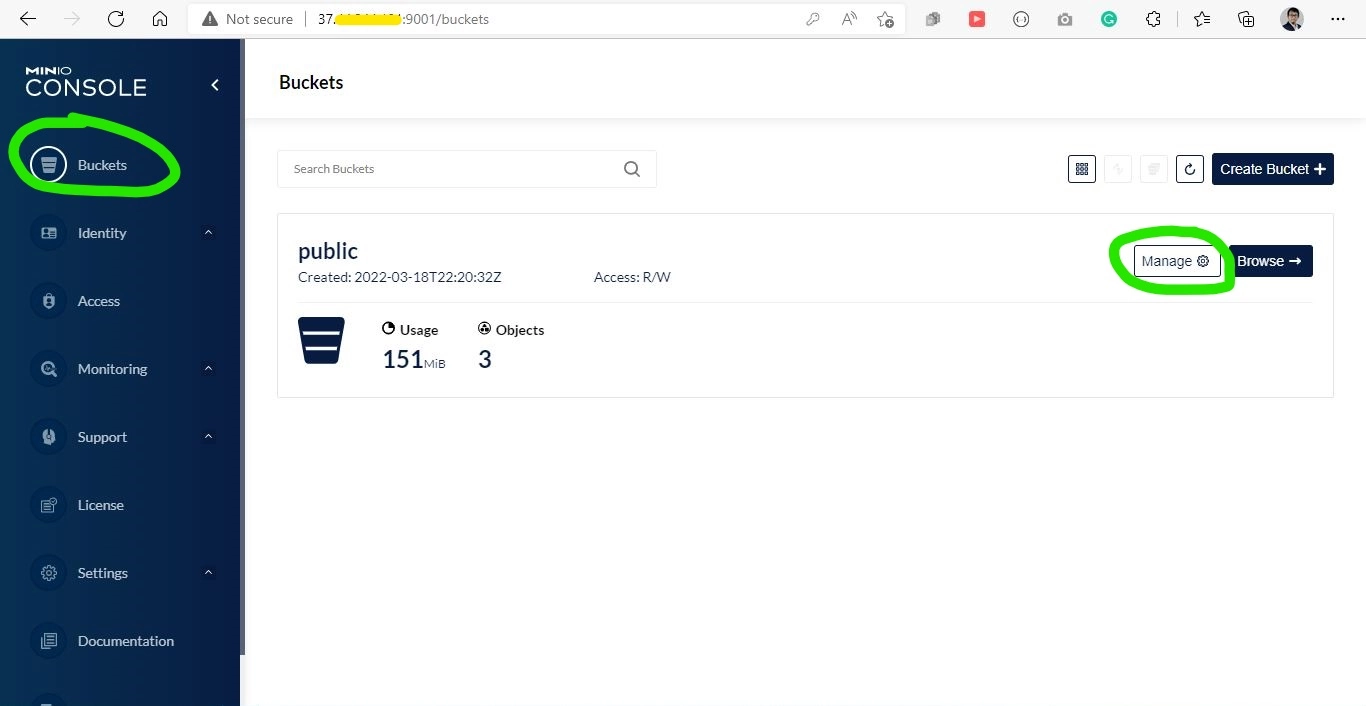
After you upload your file, you must change the bucket access policy to public. To do That, head to the minio home screen by clicking the Bucket menu on the left menu, and then click the Manage button on the public bucket
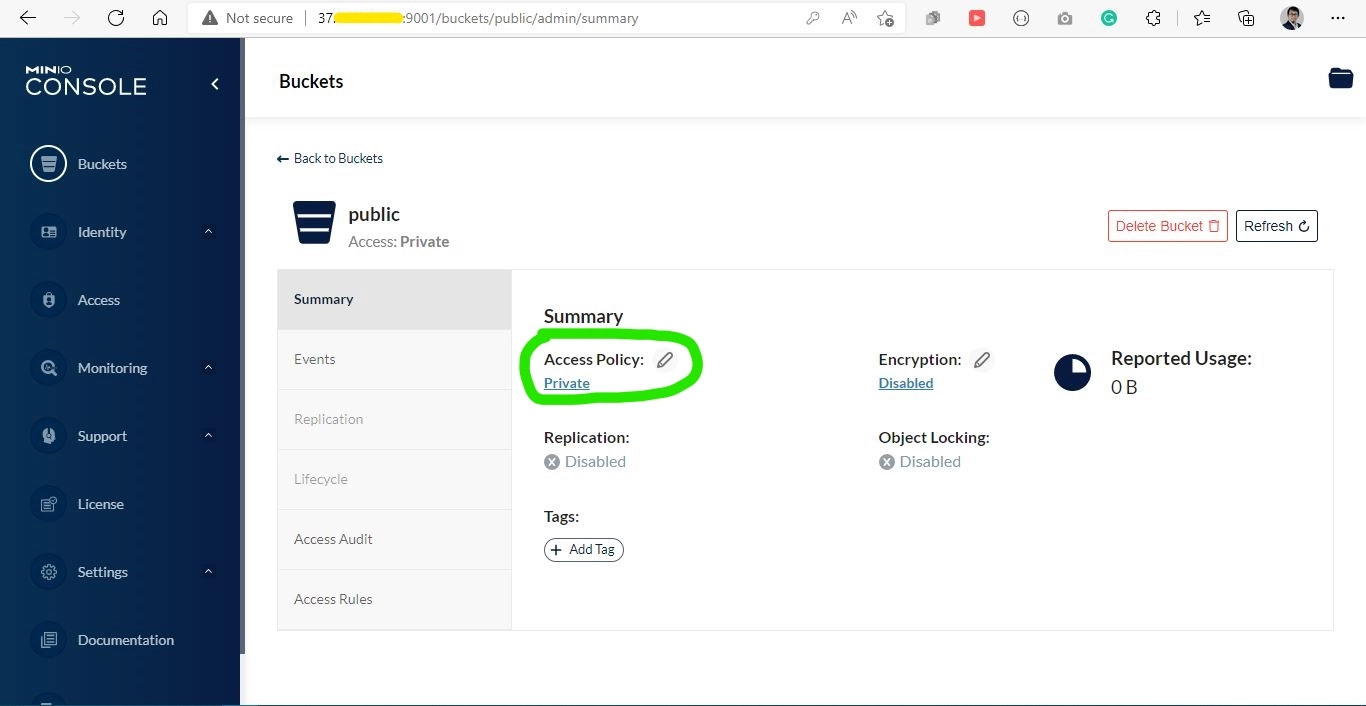
You see on the manage page the access policy is private, click the access policy and change it to public.
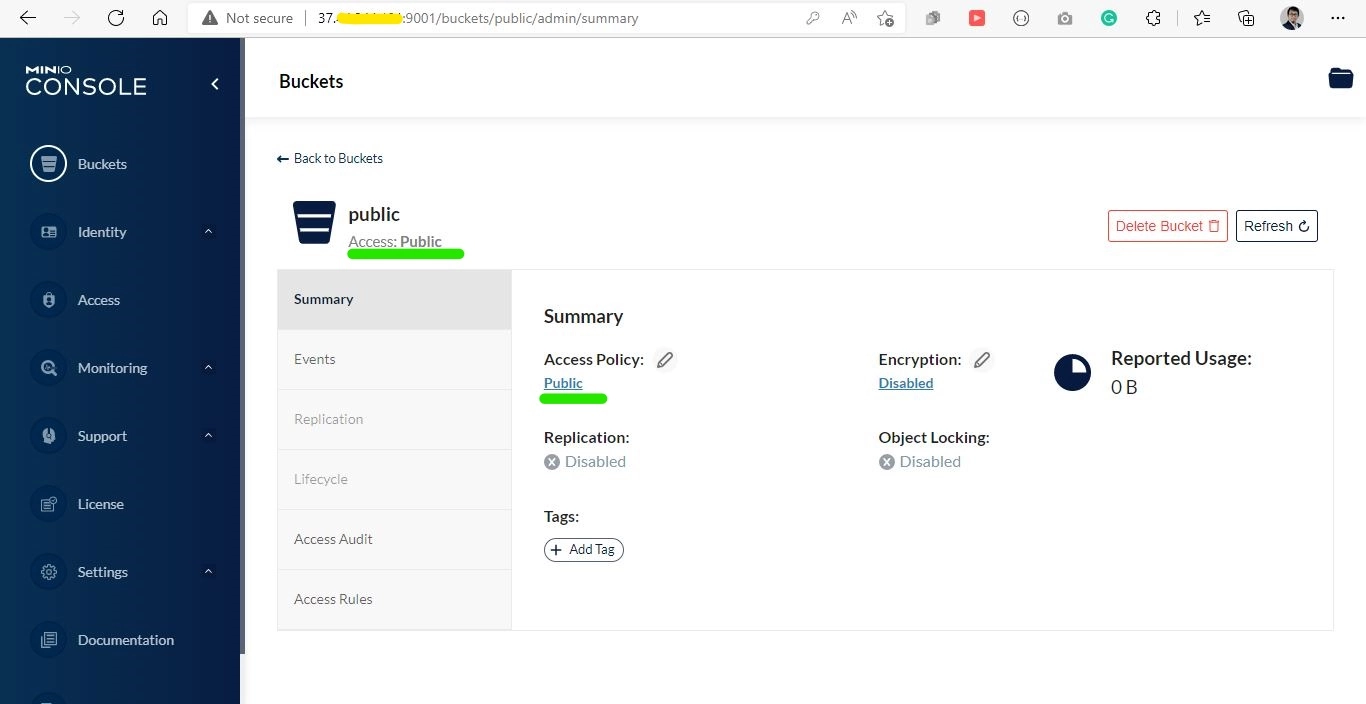
After changing the access policy, you will see the access policy of the bucket become public.
Now the minio part is done! You can check that your JSON file can be accessed directly from the browser using this link, and return your JSON file:
http://your-minio-ip:9000/public/transformers.json
Nginx Configuration
First, go to the nginx directory
cd /etc/nginx
Open the Nginx configuration file
nano nginx.conf
Remove the alias directive on existing location block
    location ^~ /video/ {
        alias /etc/nginx/json/;
        vod hls;

        add_header Access-Control-Allow-Headers '*';
        add_header Access-Control-Expose-Headers 'Server,range,Content-Length,Content-Range';
        add_header Access-Control-Allow-Methods 'GET, HEAD, OPTIONS';
        add_header Access-Control-Allow-Origin '*';
        expires 100d;
    }
Add more location block like this:
    location ^~ /json/video/ {
        <mark>internal;</mark>
        <mark>proxy_pass http://jsonupstream/public/;</mark>
        <mark>proxy_set_header Host $http_host;</mark>
    }
This configuration is used to read JSON files. Previously, Nginx will read the JSON file from a folder, now Nginx will read the JSON file from a remote server.
Add another location block under previous location block
    . . .

    location ^~ /json/video/ {
        internal;
        proxy_pass http://jsonupstream/public/;
        proxy_set_header Host $http_host;
    }

    location ~ /proxy/([^/]+)/(.*) {
        internal;
        proxy_pass $1://$2;
        resolver 8.8.8.8;
    }

    . . .
And add vod_remote_upstream_location and vod_upstream_location directive under the vod_mode just like this
    . . .

    vod_mode mapped;
    vod_upstream_location /json;
    vod_remote_upstream_location /proxy;

    . . .
The last 2 configuration is the part where the Nginx will pull the video. Previously, Nginx just read the video from the folder defined on the JSON file.
Now Nginx will make a subrequest to vod_remote_upstream_location, in this case /proxy , and then change the “weird” looking URL from the JSON file to a proper URL format, and then pull the video from the URL.
Lastly, Add an upstream block configuration named jsonupstream above the server block:
    upstream jsonupstream {
        server your-minio-ip:9000;
    }

    server {
        listen 80;

        . . .

    }
Change the your-minio-ip to your real minio ip address or domain name.
To recap, this is the full nginx.conf configuration file:
user www-data;
worker_processes auto;
worker_rlimit_nofile 8192;
pid /run/nginx.pid;

events {
    worker_connections 4096;
}

http {
    upstream jsonupstream {
        server your-minio-ip:9000;
    }

    server {
        listen 80;

        # vod mode
        vod_mode mapped;
        vod_upstream_location /json;
        vod_remote_upstream_location /proxy;

        # vod caches
        vod_metadata_cache metadata_cache 512m;
        vod_response_cache response_cache 128m;
        vod_mapping_cache mapping_cache 5m;

        # gzip manifests
        gzip on;
        gzip_types application/vnd.apple.mpegurl;

        # file handle caching
        open_file_cache          max=1000 inactive=5m;
        open_file_cache_valid    2m;
        open_file_cache_min_uses 1;
        open_file_cache_errors   on;

        location ^~ /json/video/ {
            internal;
            proxy_pass http://jsonupstream/public/;
            proxy_set_header Host $http_host;
        }

        location ~ /proxy/([^/]+)/(.*) {
            internal;
            proxy_pass $1://$2;
            resolver 8.8.8.8;
        }

        location ^~ /video/ {
            vod hls;

            add_header Access-Control-Allow-Headers '*';
            add_header Access-Control-Expose-Headers 'Server,range,Content-Length,Content-Range';
            add_header Access-Control-Allow-Methods 'GET, HEAD, OPTIONS';
            add_header Access-Control-Allow-Origin '*';
            expires 100d;
        }
    }
}
Save the file, and then make sure there is no error in the configuration file
nginx -t
Restart the nginx (Don’t use reload. We want to clear the Nginx cache, especially the JSON file)
service nginx restart
Test the Vod Server
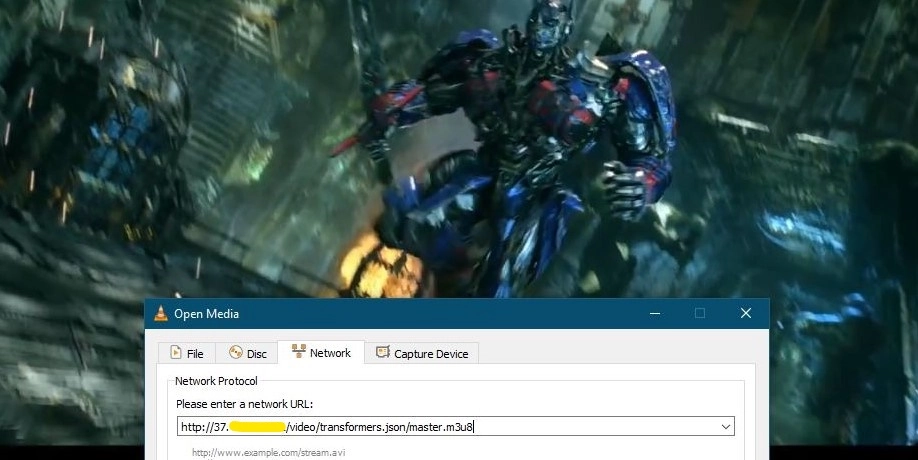
You can test the VoD server using VLC on your laptop by pointing the network URL to http://<your-server-ip>/video/<video-configuration-file>/master.m3u8 just like the image below.
Congratulation! You have already integrated the Nginx VoD Server with Minio object storage.